
How to Plan Your Dream Outdoor Living Space: From Pinterest Board to Finished Patio

TL;DR
This comprehensive planning guide from Coldwater Landscapes walks North Alabama property owners through a practical, seven-step process to move from ideas and inspiration to a perfectly executed outdoor living space.
Key takeaways:
- Function First: Layout and scale are driven entirely by how you live, whether you are prioritizing a quiet personal retreat or an active outdoor entertaining hub.
- Smart Budgeting: Longevity relies heavily on hidden sub-grade preparation. Setting an early investment range allows a designer to pick appropriate materials.
- Site Assessment: Regional obstacles like heavy red clay and sloped lots require local site work expertise to protect long-term patio drainage.
- Unified Design: Blending hardscape layout ideas with professional landscape services removes contractor handoff gaps and secures a seamless project finish.
You’ve got the saved photos. The mood board is overflowing. Maybe you’ve even sketched something out on the back of a napkin. But there’s a wide gap between “I want something like that” and standing in your finished backyard with a cold drink.
This guide was written to help you close that gap, and help you achieve the outdoor living space you’ve been dreaming of.
At Coldwater Landscapes, our tagline is “You Dream It. We Create It.” – and this step-by-step guide is the literal expression of that promise. Whether you want to add a simple, cozy seating area or completely transform your entire backyard, we break down how to plan your North Alabama project the right way from day one.
For a deeper look at materials and local considerations, check out our complete hardscaping guide.
Step 1 — Define How You Want to Use the Outdoor Living Space

Before you pick a single paver or browse a single catalog, get clear on one thing: how will you actually use this space?
This sounds obvious, but it’s the step most homeowners skip — and it’s the most important one. Designing a space for quiet relaxation is one thing, but making sure it can also handle big parties changes what you need from the layout.
Ask yourself:
- How many people will use this space regularly – just your household, or large groups too?
- Do you want overhead shade, or do you love open sky?
- Will there be a grill or a full outdoor kitchen?
- Will kids or pets be using the space?
- Do you envision this as an outdoor entertaining hub, a personal retreat, or both?
Your answers shape every design decision that follows, from patio layout and materials to the plants surrounding the hardscape.
Pro Tip: Let your lifestyle decide your backyard design. It means you end up with an outdoor living space that actually fits your life, not just one that just looks good in photos.
Step 2 — Set a Realistic Budget Range

You don’t need a final budget at the very beginning of the planning process. What you need is a realistic range to help clarify what is possible and to guide your decision making.
A few things to keep in mind:
- Hidden subgrade work: Square footage is only part of the equation. Site prep, drainage, and base work are significant costs that aren’t visible in the finished product but are critical to longevity.
- Feature additions: Fire pits, outdoor kitchens, water features, and retention walls each carry their own distinct cost brackets.
- Project phasing: You do not have to build everything at once. A master plan can easily be executed over several seasons.
To give you a better sense of typical hardscaping costs, our hardscaping FAQ guide breaks down common project types and what homeowners typically invest.
Pro Tip: Always build in a 10–15% contingency for site-specific surprises. Red clay soil, unexpected root systems, and drainage issues can add cost mid-project. Planning for it upfront keeps things on track.
Want a realistic picture of your project before you commit to anything? Schedule a free consultation.
Step 3 — Gather Your Inspiration (And Edit It Down)
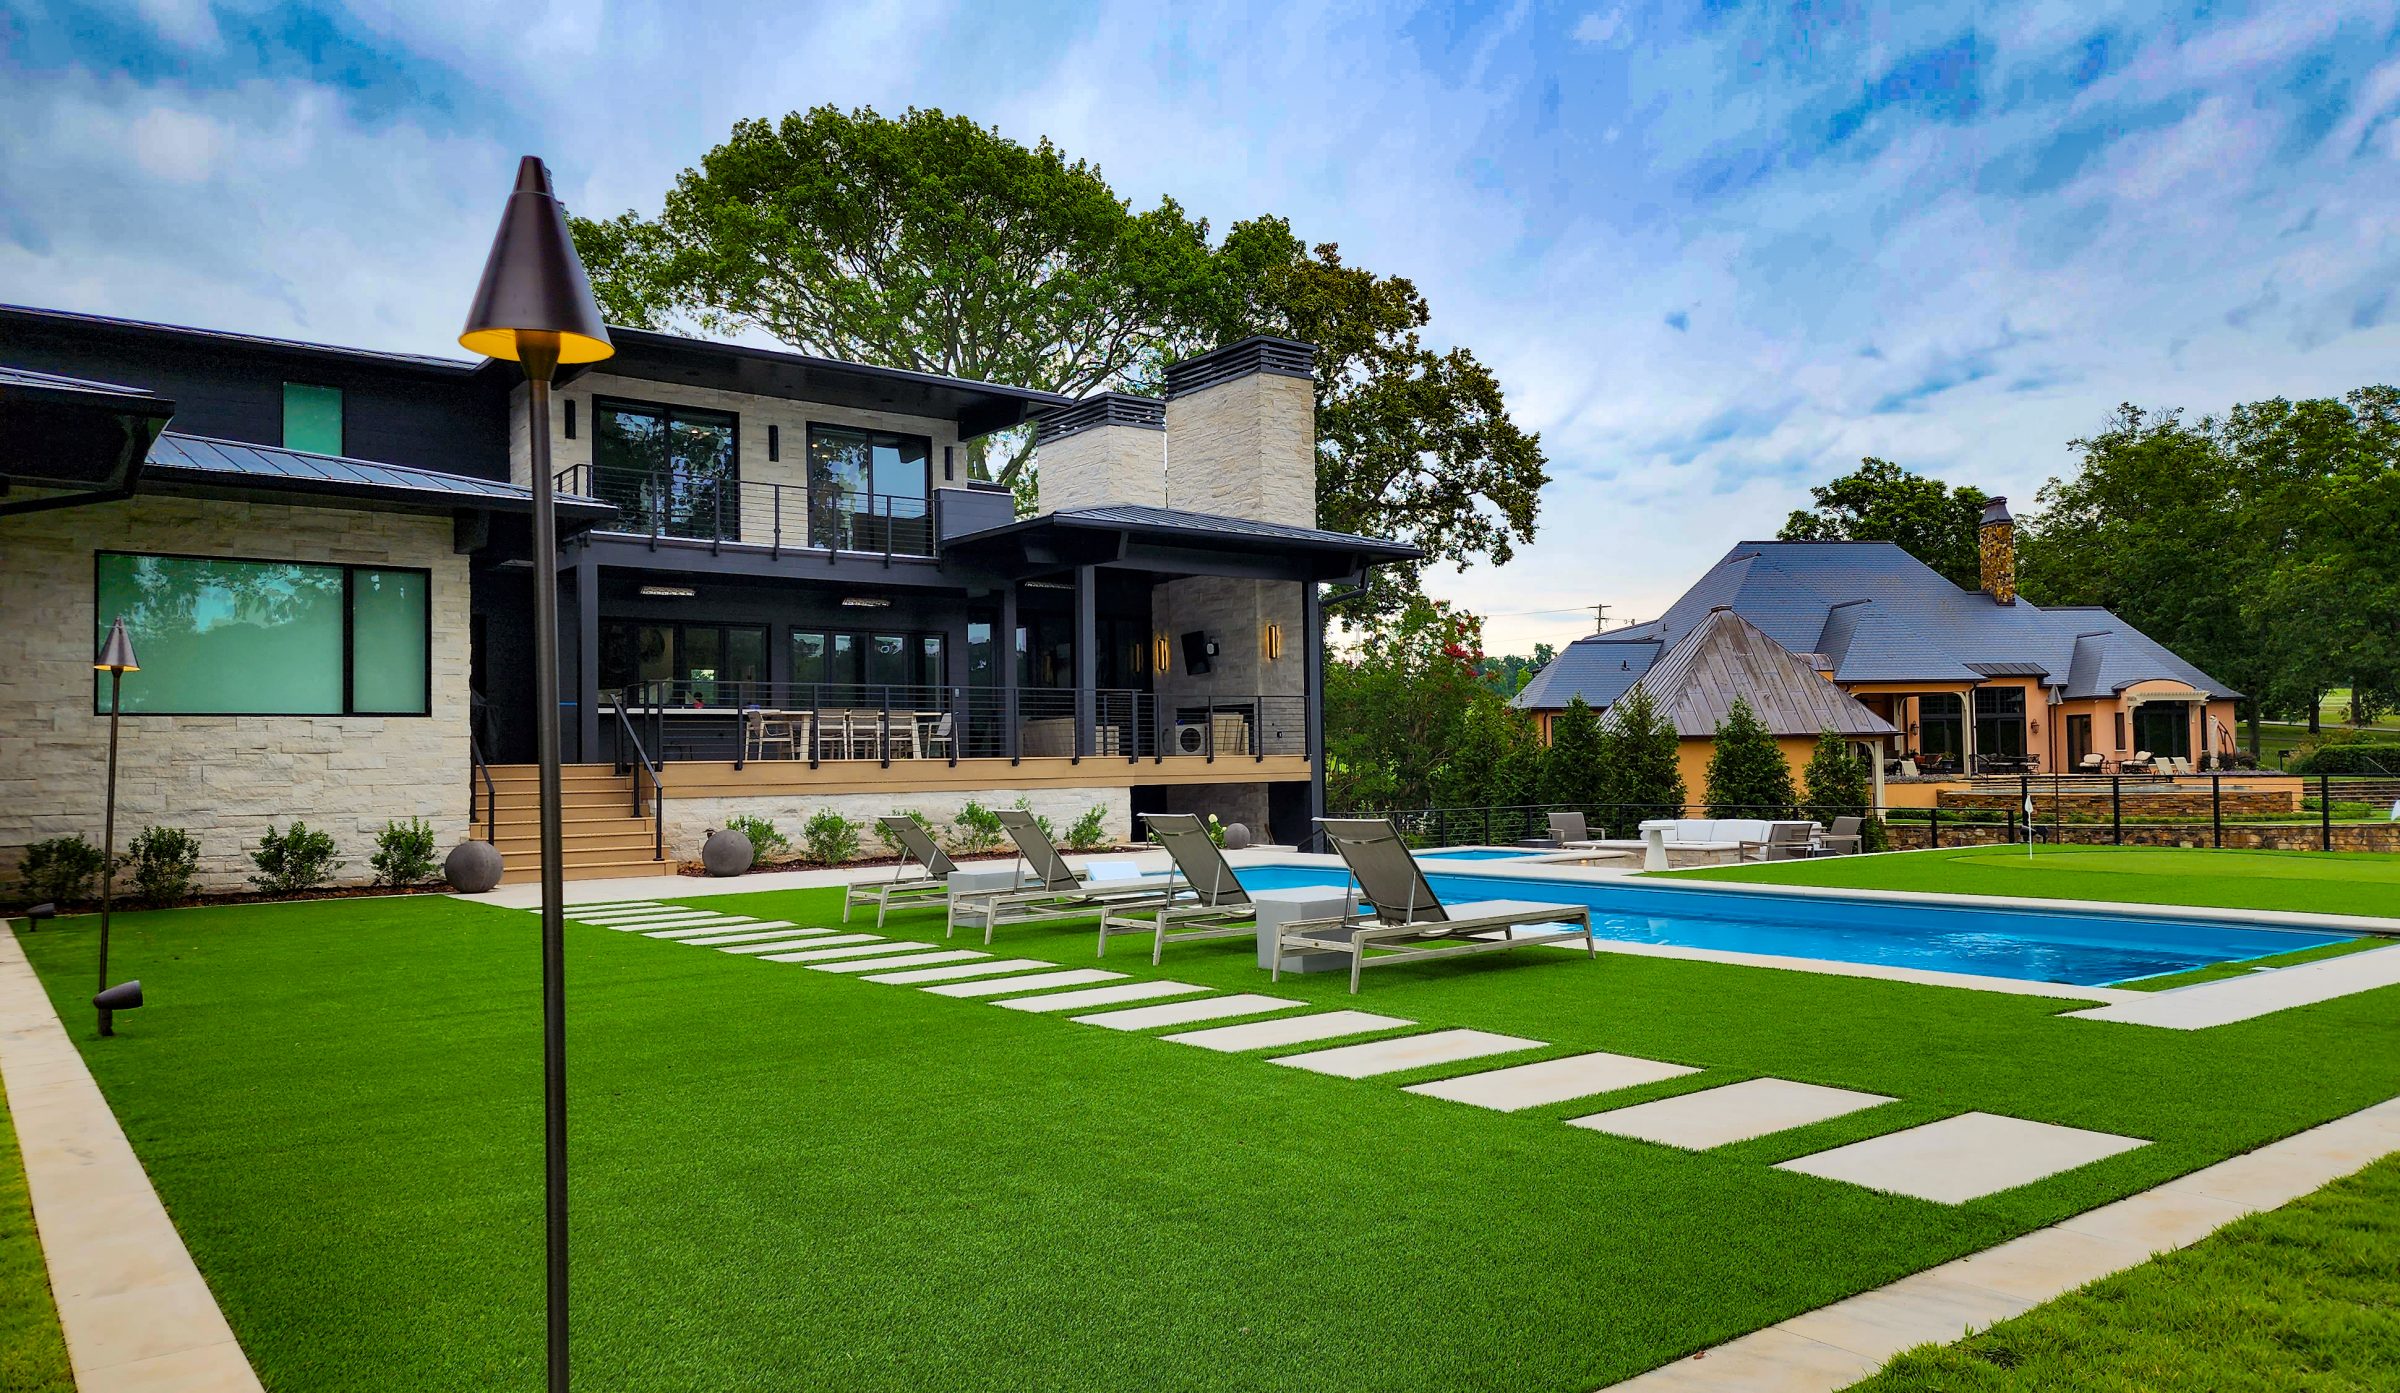
Use Pinterest. Use Houzz. Save Instagram reels of patios you can’t stop watching. All of it is useful raw material.
The next step is identifying what you love about all those inspiration photos.
Look past the image as a whole and evaluate:
- Material: Are you drawn to the natural texture of travertine stone, or the clean lines of large-format pavers?
- Footprint: Do you like an intimate, circular configuration or a sweeping, open-concept terrace?
- Lighting: Is the space brightly lit, or does it use low-voltage accent lighting?
- Plantings: Are you drawn to lush, layered garden beds, or clean, minimalist clearings?
- Overall feel: Does the photo feel private and fully enclosed, or open to the surrounding scenery?
When you can articulate what draws you to each image, you’ve turned a collection of photos into a design brief.
Pro Tip: Bring your top 5 saved images to your consultation — not 50, just five. We’ll help you extract the underlying style thread, which then forms the direction for your unique hardscape design.
For inspiration on what’s resonating with homeowners locally, take a look at current landscape design trends.
Step 4 — Assess Your Yard’s Unique Challenges
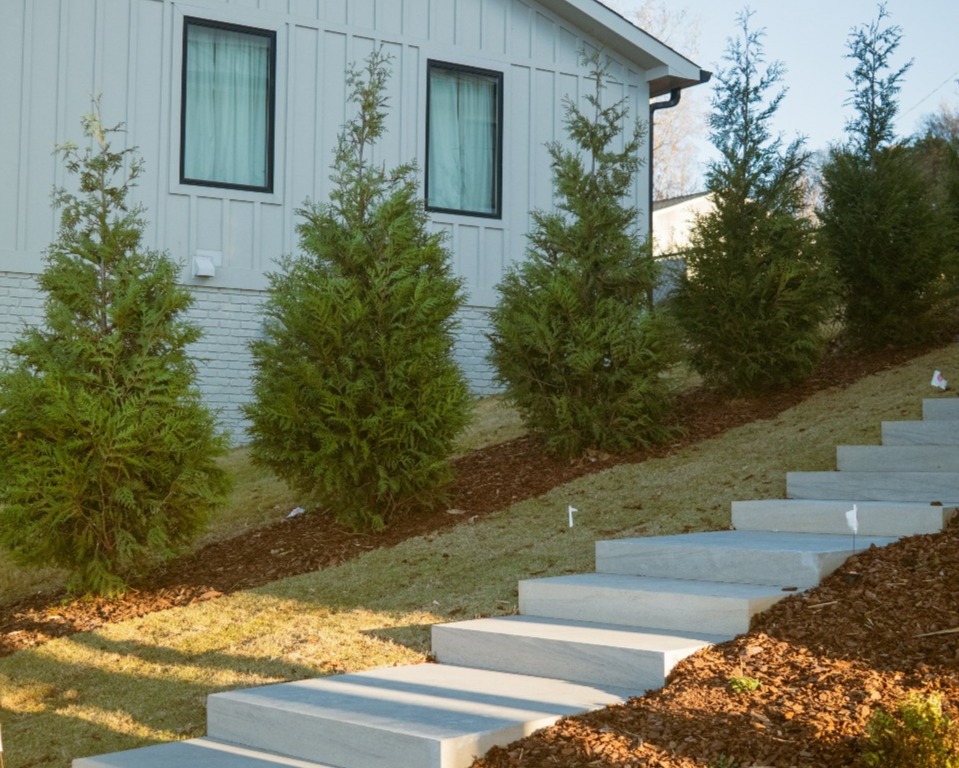
This is where your vision boards meet real-world conditions. In North Alabama, every property presents unique geographic traits that dictate how a project must be built.
Common challenges include:
- Slope and grade: Even a gentle incline affects drainage, layout options, and whether retaining walls or steps are needed.
- Drainage patterns: Standing water is the ultimate enemy of heavy stone masonry. Runoff must be directed away from the foundation.
- Sun exposure: This dictates where seating can be placed and which materials will stay comfortable throughout the day.
- Trees and roots: Large existing trees affect where a patio can safely sit, and traveling root systems can easily disrupt a sub-base if not planned for.
- Soil composition: The dense red clay common throughout the Shoals holds massive amounts of moisture. It requires deep gravel packing and heavy compaction to keep your stone from shifting or settling over time.
Pro Tip: Make sure you have a full site assessment done before any design is finalized. It helps avoid surprises mid-build and ensures your outdoor living space looks great for years to come. For more detail on planning for a hardscape upgrade, read our complete hardscaping guide, and review these common hardscaping mistakes.
Step 5 — Choose Your Materials and Features

Once you understand your layout, budget, and lot conditions, you can begin selecting your material finishes.
Popular material options for North Alabama backyards include:
- Concrete pavers: Durable, versatile, cost-effective. Available in dozens of colors and profiles. Easy to repair if a piece ever needs replacing.
- Natural stone: Flagstone, travertine, bluestone offer a higher-end look and feel. Nature stone also stays cooler underfoot during peak Alabama summer heat than concrete.
- Brick: Offers a classic Southern look that coordinates seamlessly with traditional brick residential properties.
- Decomposed granite: A lower-cost, more informal option. Excellent for winding walkways, accent borders, or secondary fire pit seating areas.
Next, determine which functional elements you want to layer in to extend your seasonal usage:
- Fire pit or fireplace: Extends your outdoor season into fall and makes cool evenings an occasion.
- Outdoor kitchen: Built-in masonry counters, prep stations, and integrated stone bars completely change how you entertain—turning a standard backyard into an open-air culinary hub.
- Pergola or shade structure: Non-negotiable in Alabama summers. Shade transforms a hot slab into a livable outdoor room.
- Lighting: Seamlessly integrated step lights, path fixtures, and tree uplighting maximize your investment, transforming a daytime patio into a striking, usable evening retreat.
Explore our hardscaping options to see how these elements come together in real projects.
Pro Tip: Never select your stone palettes strictly from a showroom screen. Take physical material samples outside and evaluate them next to your home’s actual siding under natural daylight to confirm the tones match.
Step 6 — Work with a Designer to Build Your Vision

This is where your outdoor living ideas become an actual plan.
At Coldwater Landscapes, the process starts with a free site visit. We walk your lot, assess existing conditions, take measurements, and discuss your goals.
Next, we translate those details into a comprehensive design plan and renderings. This allows you to see exactly how your layout, material selections, and surrounding landscape elements will look before any construction machinery arrives on site. Most clients tell us this is the moment the whole project clicks. It’s the moment when you move from ideas and line items on a quote to actually seeing your backyard.
From there, we build a materials board. If needed, we can also lay out phased build options. This allows you to start with your core needs and add features over time.
For a full picture of how this stage unfolds, read about our full landscape design process.
Pro Tip: Come to your free consultation having done Steps 1–3. The more clearly you can articulate how you want to use the space and what you’re drawn to visually, the faster we can move from consultation to design and the more the finished result will reflect your vision and feel unique to you.
Step 7 — Plan for Landscape, Lighting, and Maintenance

A hardscape without thoughtful surrounding landscape and lighting is like a big room with no furniture. The bones are there, but it doesn’t feel finished.
Plantings soften clean stone borders, frame your patio, add seasonal color, and create natural privacy.
Lighting, including path lights, step lights, and tree uplighting, improves safety while extending the enjoyment of your outdoor living space well after sunset. Our blog on outdoor lighting walks through the options in detail.
Landscape maintenance protects your investment by keeping plantings healthy, preserving curb appeal, and ensuring your outdoor space still looks as great years after installation day.
Partnering with a full-service contractor like Coldwater Landscapes keeps your entire installation unified. We manage the complete scope—from design to initial structural excavation and hardscape installation to final landscape lighting and ongoing landscape maintenance—removing any management gaps or miscommunications along the way.
Pro Tip: Plan your lighting during the hardscape installation, not after. Conduit runs and outlet placement are far easier and cheaper to integrate during the build than to retrofit later.
Ready to Go from Pinterest Board to Finished Patio?
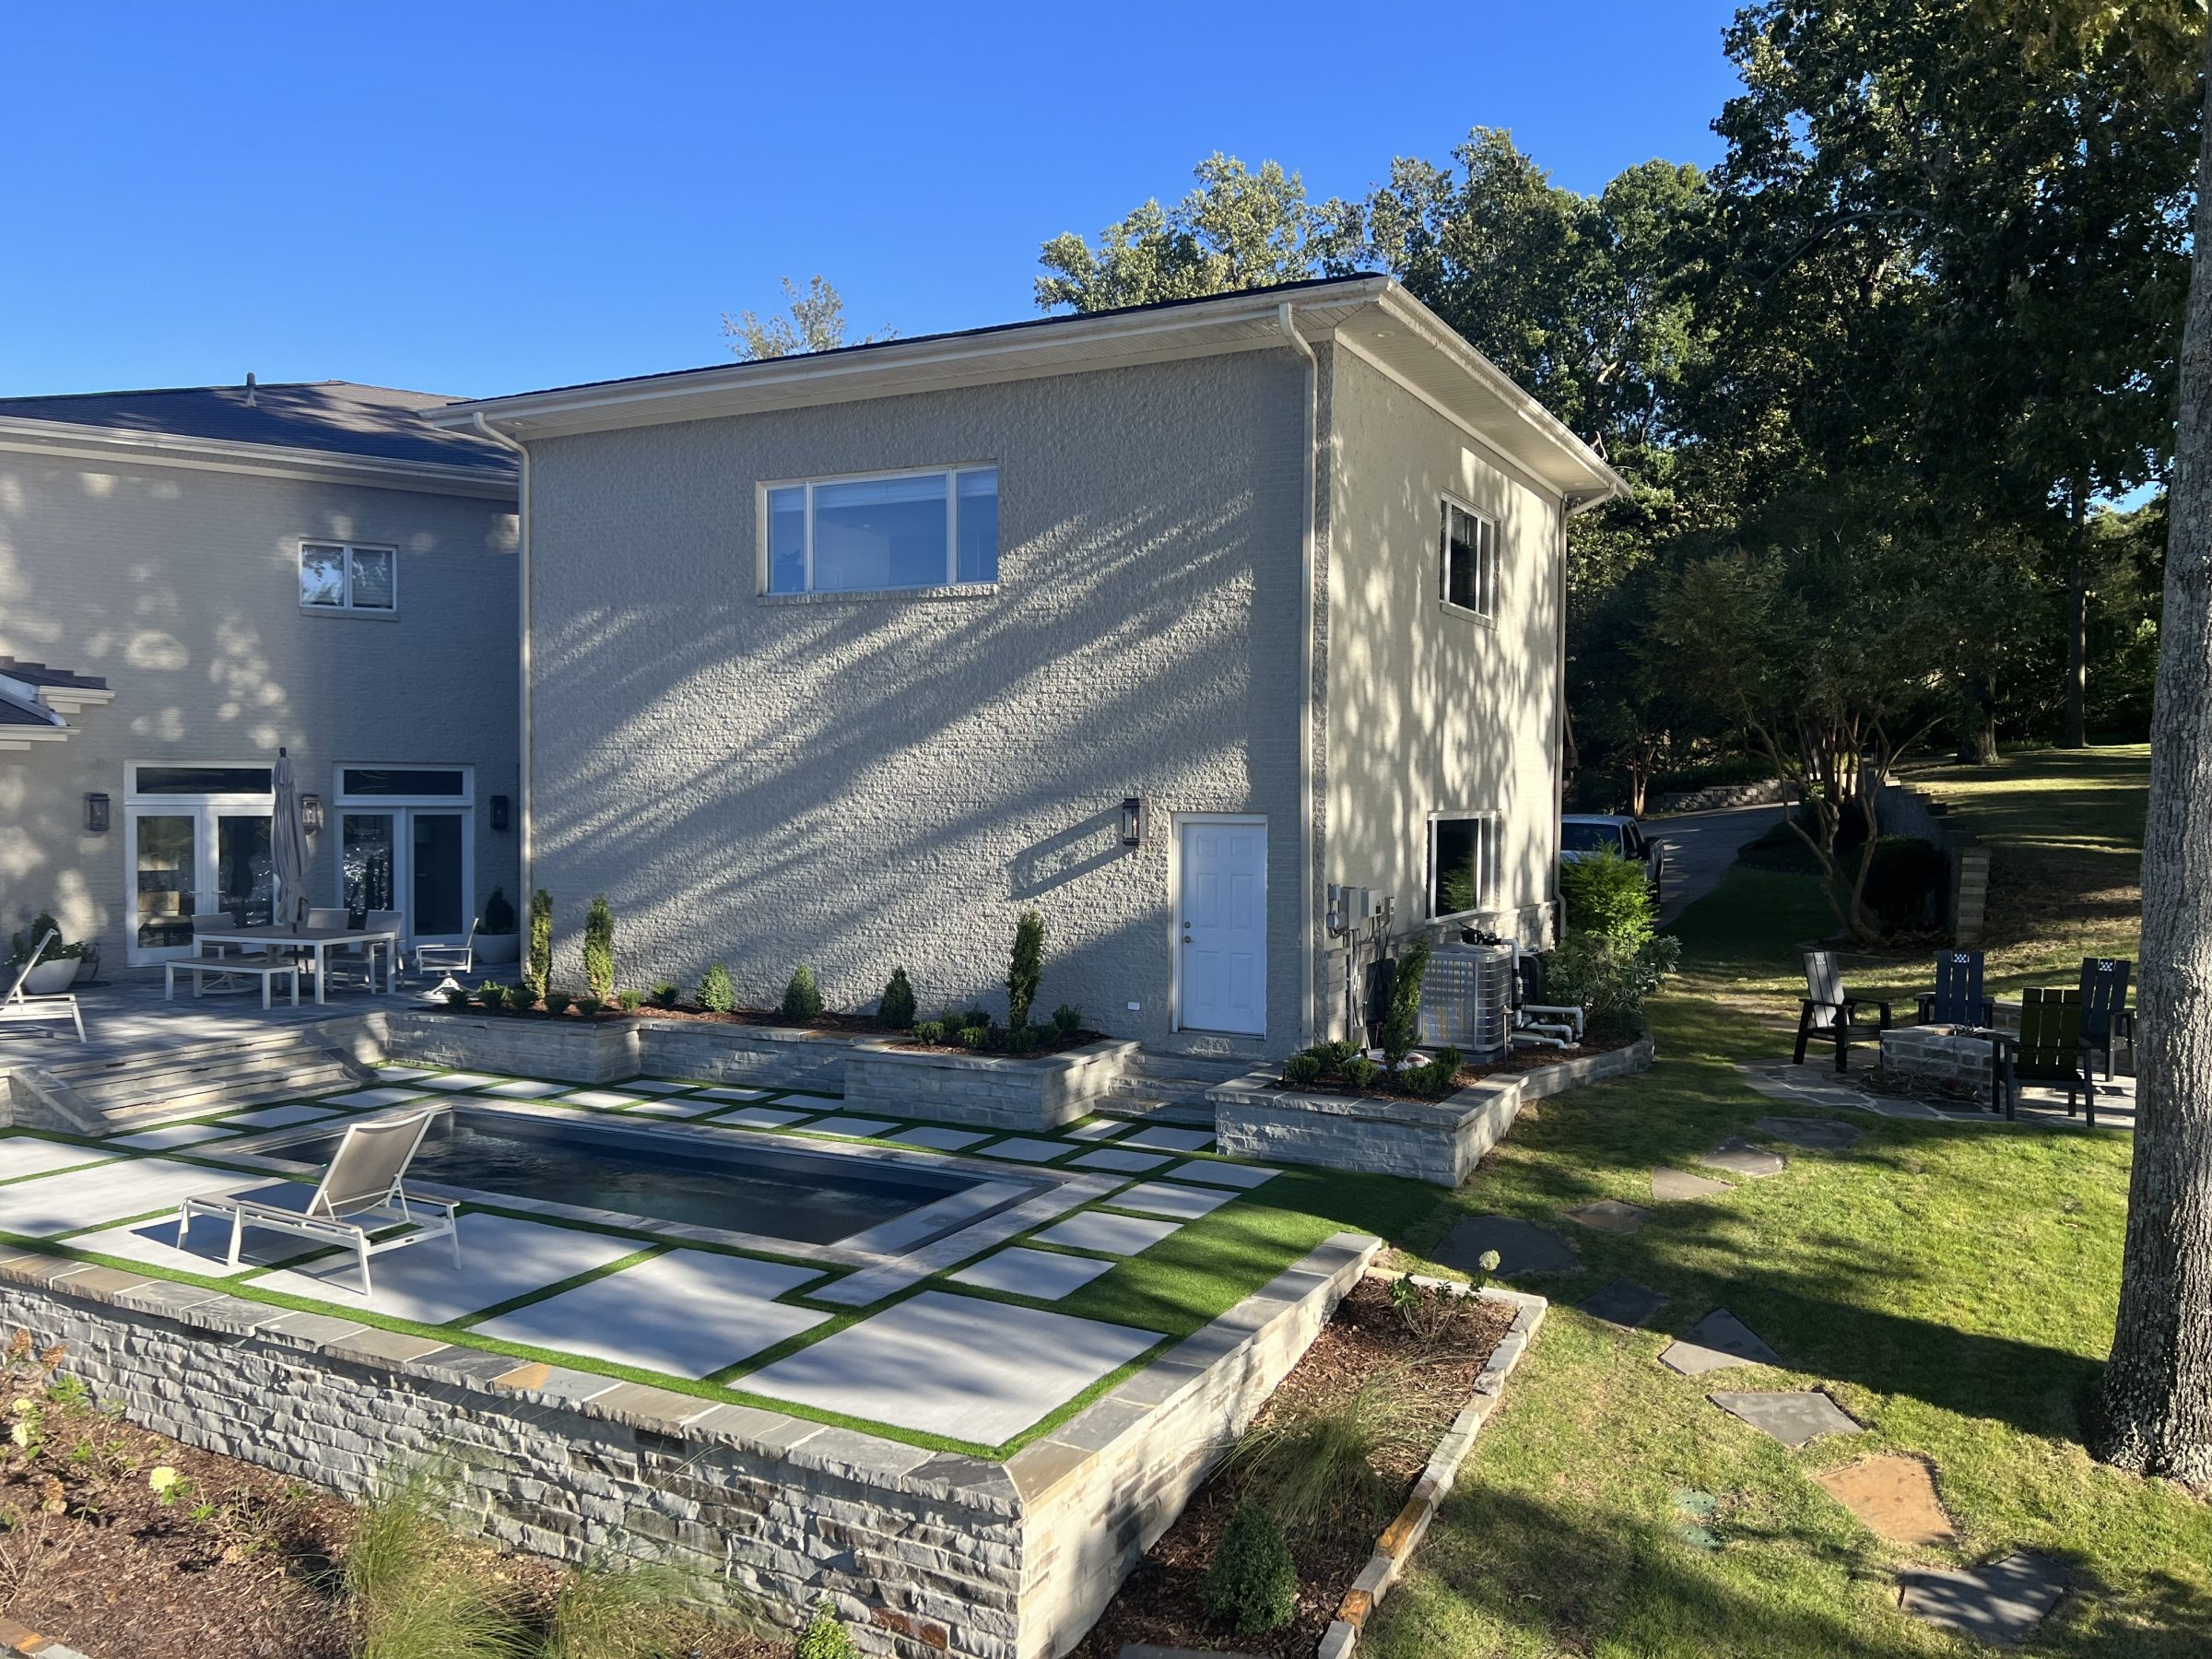
Coldwater Landscapes works with homeowners across Florence, Muscle Shoals, Huntsville, and surrounding communities throughout the Tennessee Valley to bring homeowners’ outdoor living visions to life. We’ve been transforming properties since 2007, and every successful build follows the structured path we’ve laid out in this blog.
Ready to see real-world examples of projects built locally? Explore our project gallery to see our craftsmanship in action.
When you are ready to take the next step on your property, request your free site visit.
Topics covered: Outdoor living space planning steps · How to plan a backyard patio in North Alabama · Lifestyle-driven backyard design features · Hardscaping budget contingencies and site prep costs · Pinterest inspiration editing tips · Regional red clay soil sub-base and drainage challenges · Stone, paver, and brick material selection criteria · Pergola and landscape lighting placement · Coldwater Landscapes design-build process milestones
Tags: